My husband made an exciting request the other day (well, exciting to me!):
“Can you make me a foraging bag for firewood?”
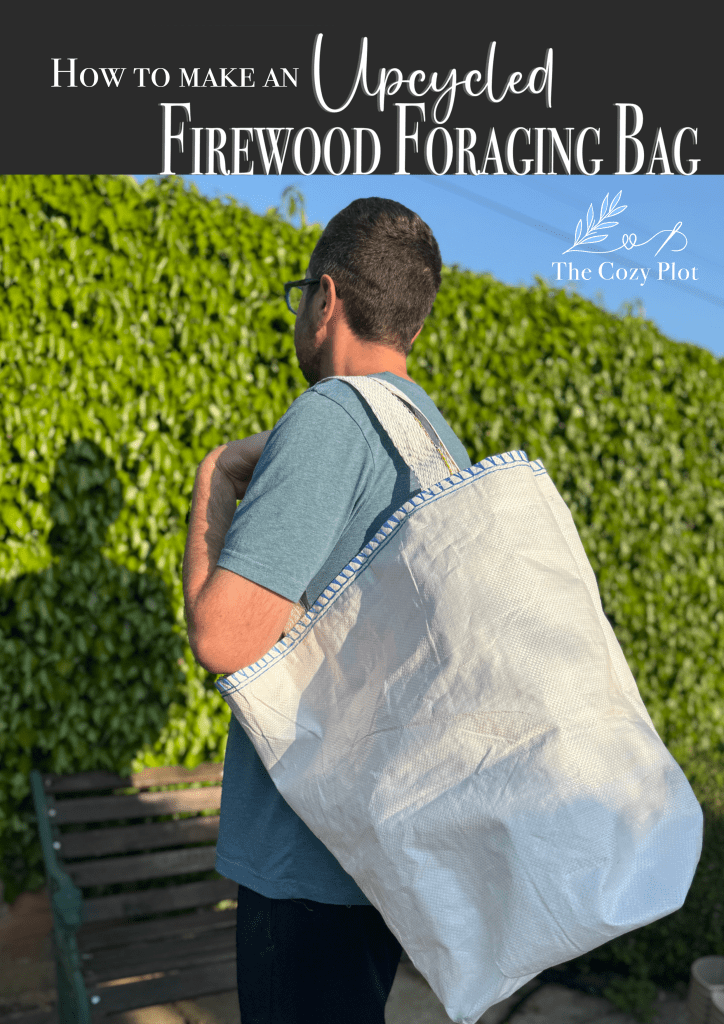
Turns out he’d been chatting with a neighbor who mentioned that it’s kind of an unwritten village rule—you can gather downed wood from public footpaths if you live here. His eyes lit up telling me about it, and I couldn’t help but smile. I totally get that sparkle—it’s the same one I get when I spot wild “weeds” in the hedgerows just waiting to be foraged.

Not long ago, we received a delivery of firewood that came in one of those giant woven plastic bags. The bottom was totally shredded, but I just couldn’t bring myself to toss it. My brain immediately went: foraging bag material! Win-win: free bag, no landfill guilt.

Step 1: Clean That Grime

First things first—I hosed the bag down and gave it a good scrub to get rid of all the grit and sand. I didn’t want all that junk gunking up my sewing machine. Since it’s plastic, it cleaned up like a charm and dried super fast in the sun.
Step 2: Cut and Prep
I had enough decent material to make two bags, and—no surprise—the second one came together way easier. So I’ll share the improved method here!
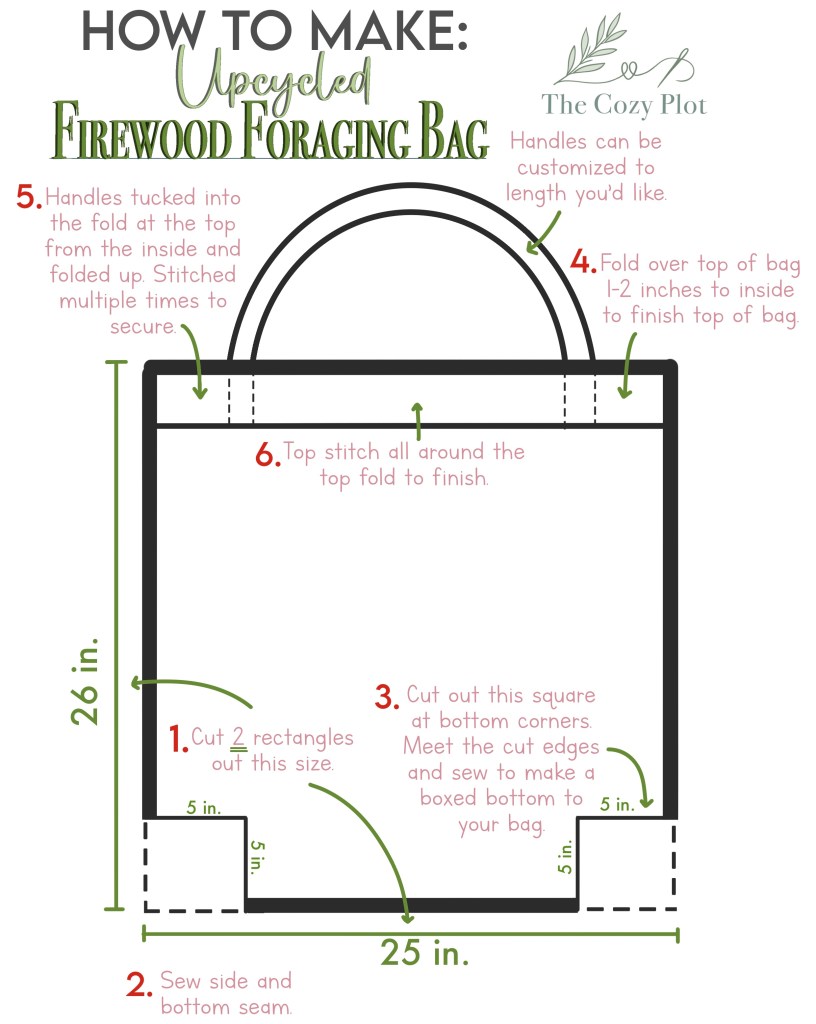
I cut two rectangles from the tarp, about 25″ wide and 26″ tall. I serged the sides and bottom first, then went over them with a zigzag stitch on my regular sewing machine. The serger helped stop the woven plastic from unraveling, but the zigzag gave it extra reinforcement—because firewood = heavy.
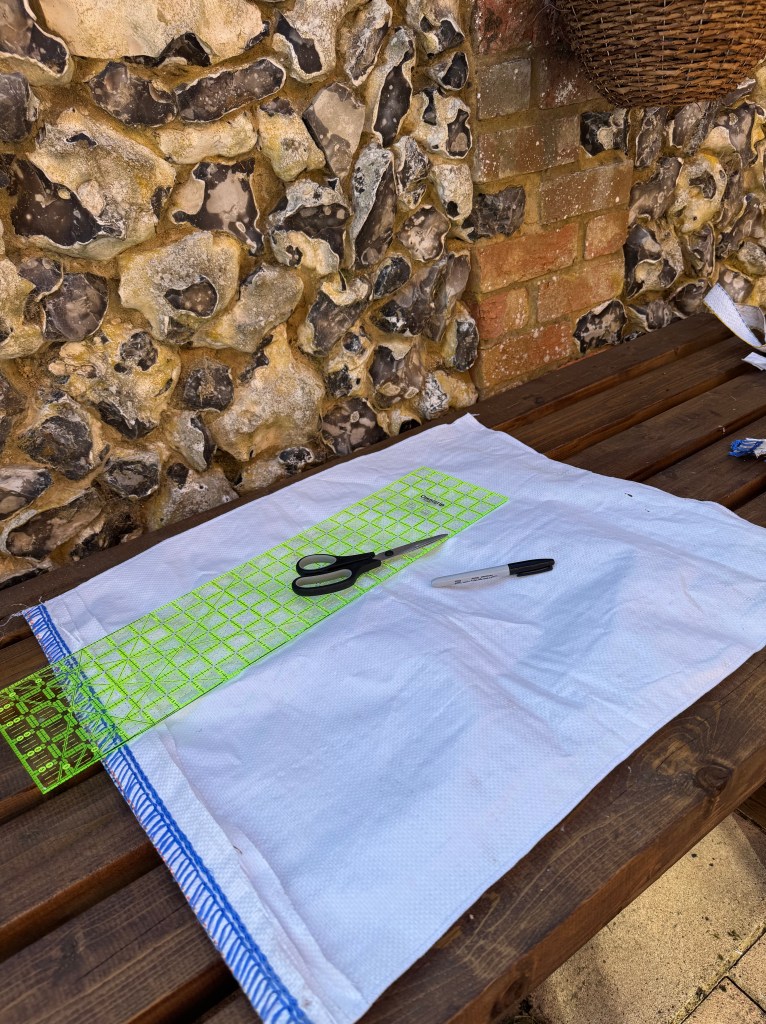
Hot tip: For the second bag, I serged the whole rectangle first before cutting out the boxed corners. This made the fabric way easier to handle, especially since the plastic is slippery. On my first go, I cut the corners first and it was a bit of a wrestling match trying to keep everything lined up.

Step 3: Box the Bottom
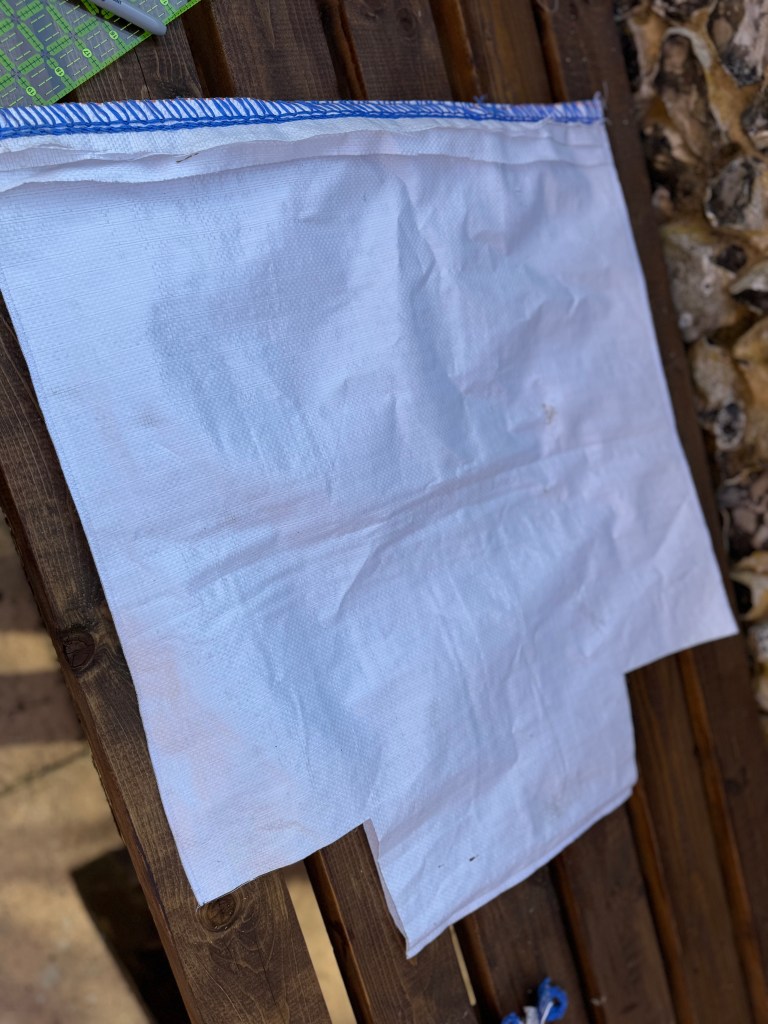
To give the bag a nice flat base, I cut 5″ squares from the bottom corners. (If you want a narrower base, cut smaller squares.) I wanted mine wide and stable so it can stand up when it’s full.
I opened up those cut corners, matched the seams, and sewed straight across to close them up—then serged and zigzagged for good measure. Boom, square bottom achieved!
Step 4: Add the Straps
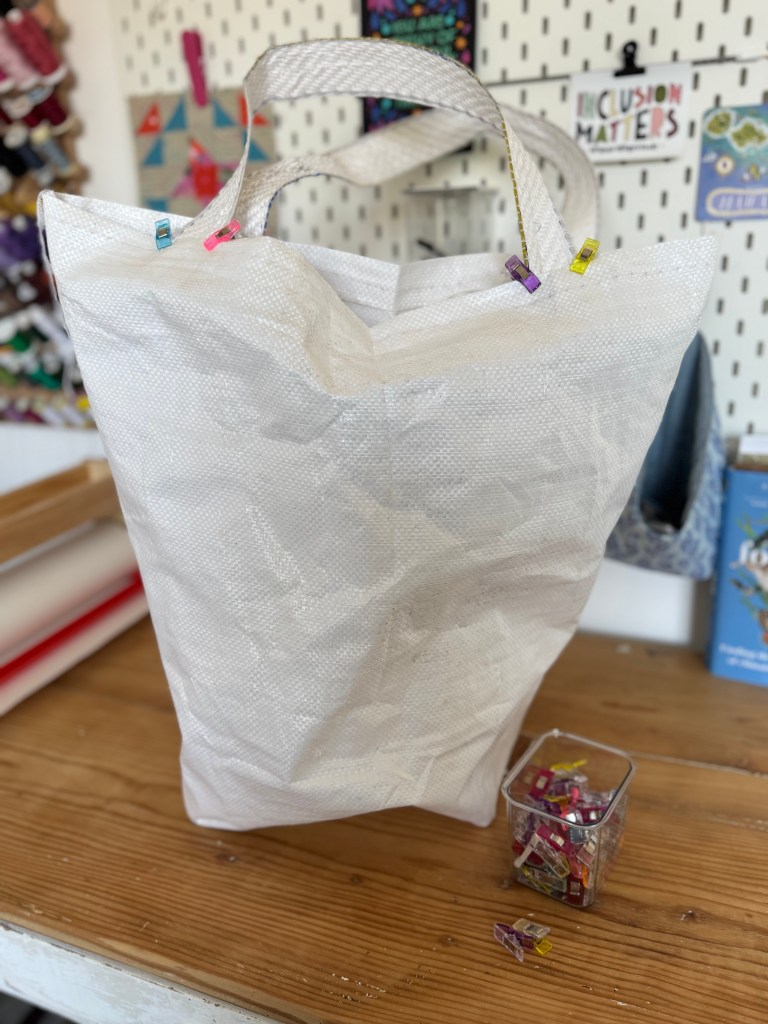
The original bag had built-in straps, so I grabbed my seam ripper and carefully removed them to reuse. So satisfying. They were already strong and made to carry weight, so why reinvent the wheel?
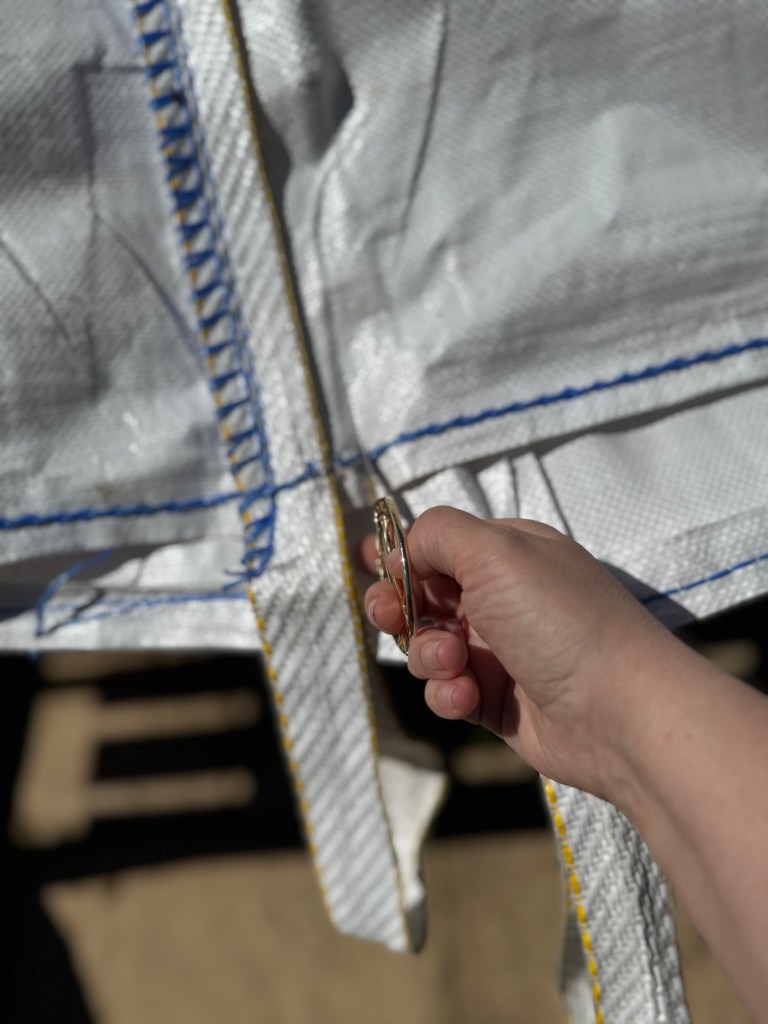
I folded over the top edge of the bag about an inch (to give it a nice finished look), then tucked the straps into that fold. Clipped them in place, then stitched them down multiple times to really lock them in. Finally, I sewed all the way around the top edge to finish it off.
And… Done!
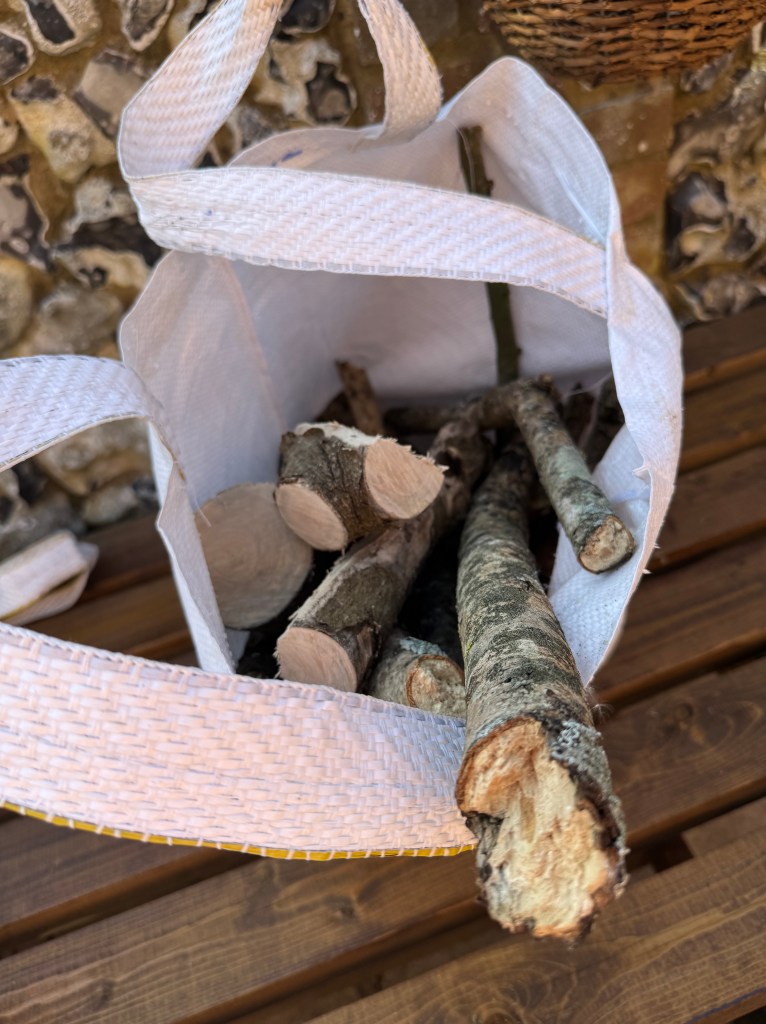
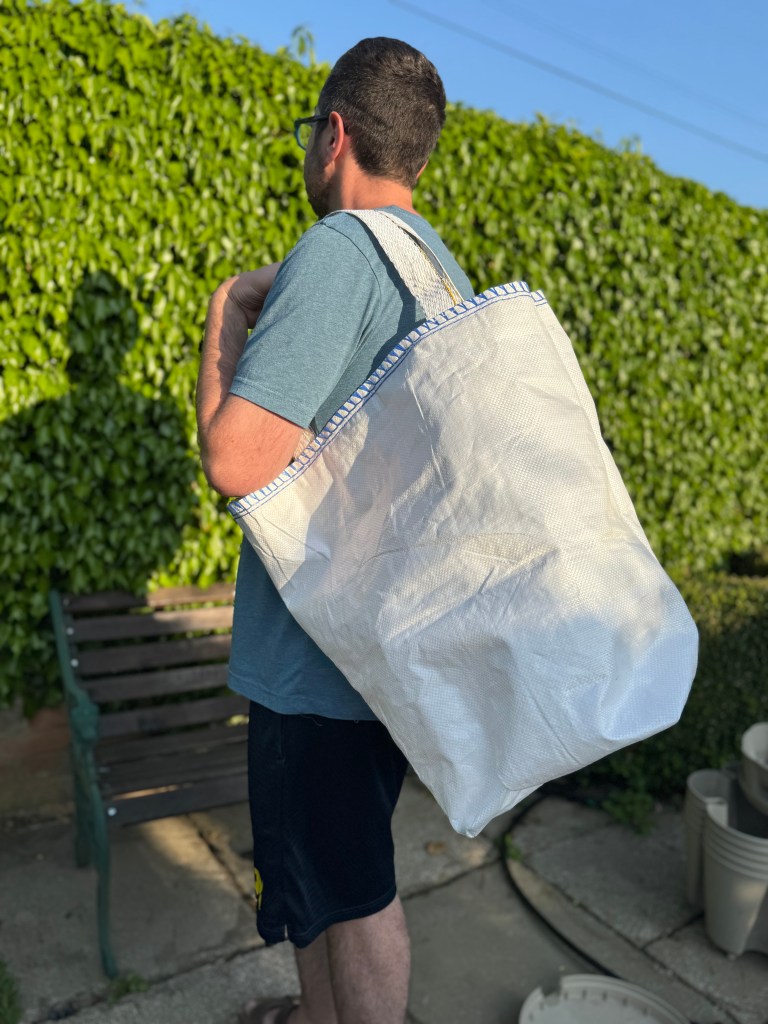
It fits my husband perfectly and holds a ton of wood. Best of all? No extra cost, no waste, and he already filled it up with sticks from a walk that evening. I think that’s the ultimate stamp of approval.

Leave a comment